Check out our Carrd resources on starrt.co or tips & tricks on starrt.co/blog
Visual
Functional
Other resources
Bundle includes


Colored boxes
Adding a bit of fun to your design can be hard when there’s no native way to add colored text blocks in Carrd. You can create the two versions below with some simple CSS (you can use your own colours).
Find out how to implement them with my tutorial bundle.
Style 1
Label
Label
Label
Label
Label
Label
Label
Label
Style 2
Title
Lorem ipsum dolor sit amet, consectetur adipiscing elit.
Title
Lorem ipsum dolor sit amet, consectetur adipiscing elit.
Title
Lorem ipsum dolor sit amet, consectetur adipiscing elit.
Title
Lorem ipsum dolor sit amet, consectetur adipiscing elit.
Find out how to create styles 1 & 2 in our tutorial below – or our tutorial bundle
Style 3
Colored or tinted boxes, with content, using native Carrd tools.
Find out how in this tutorial.

Style 4
Colored or tinted boxes, with content, with rounded corners.
This requires a bit of code. Find out how in this tutorial.

Pricing tables
We've listed here are a few ways of making pricing tables (see below) – a tutorial, a template and an embedded widget.
Pricing table tutorial
You can create the version below with the native Carrd tools + a little CSS. You can use your own colors. Find out how to do it with my tutorial bundle.
Note: requires a Carrd Pro Plus account
FREE
$0/mo
1 user
5 GB secure storage
Knowledge base support
Basic
$19/mo
Unlimited users
100 GB secure storage
Business hours phone support
Analytics
Pro
$59/mo
All Basic features
Unlimited secure storage
Advanced branding

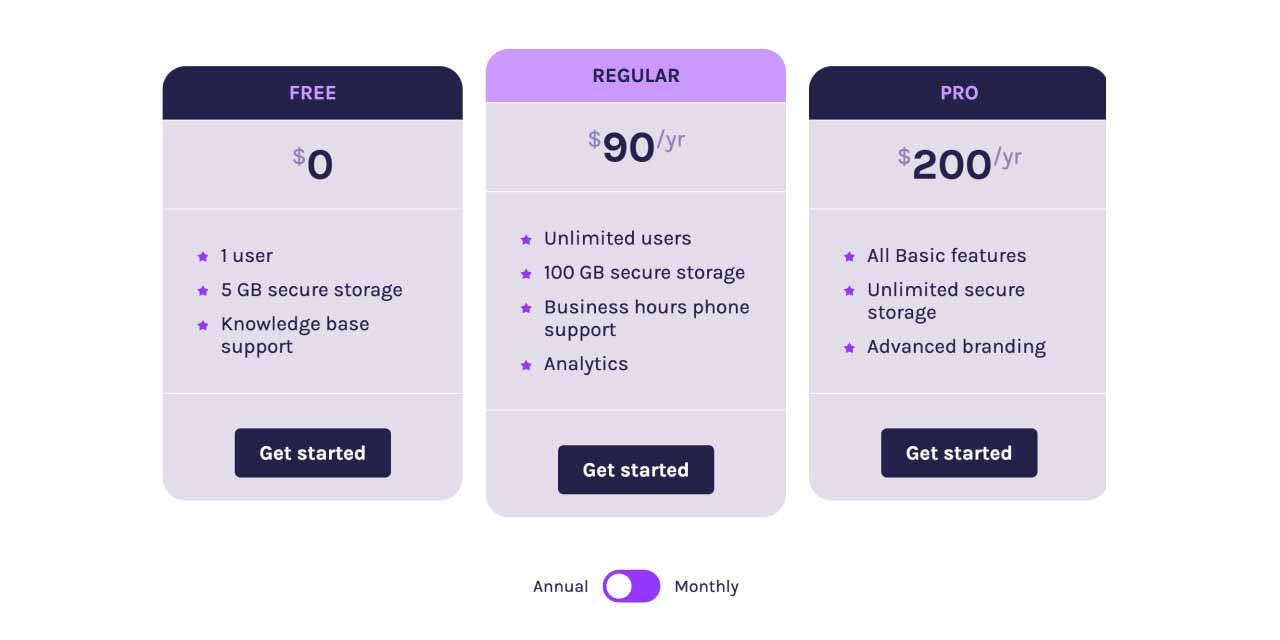
Pricing table template (with toggle)
You can purchase this template I've created, which includes a toggle switch (yearly/monthly pricing). See a demo here.
Note: requires a Carrd Pro Plus account
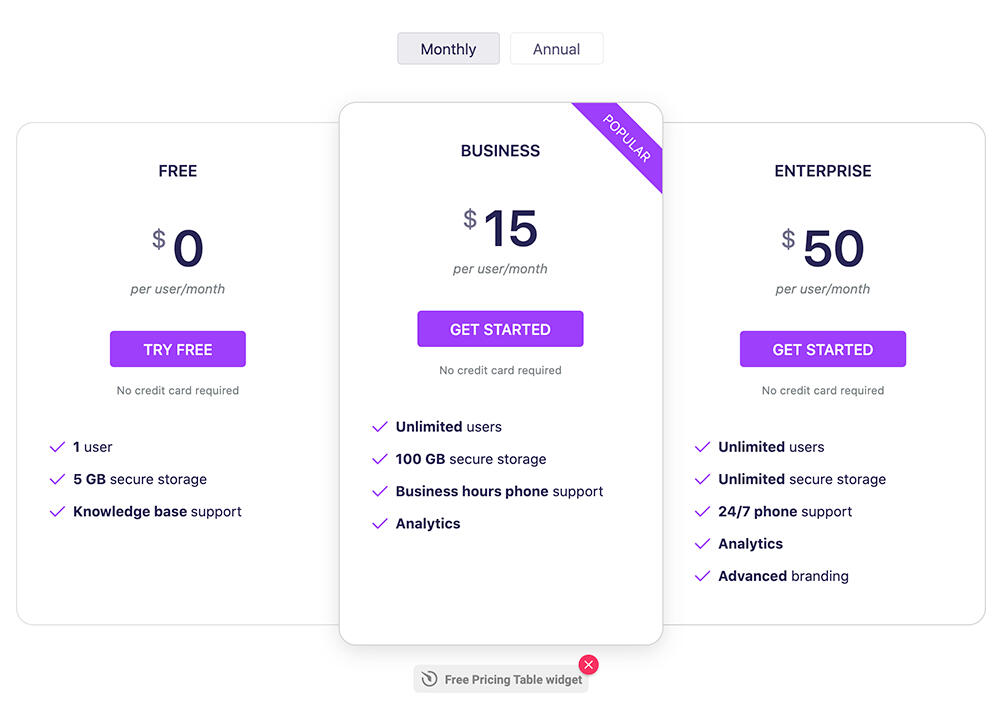
Pricing table Widget
Below is a pricing table built with Common Ninja which can be embedded as a widget in Carrd. You can use it for free, or pay $2.50/mo to remove their branding. The design is fully customisable.
Note: requires a Carrd Pro Standard account
FREE
$0
$1
1 user
5 GB secure storage
Knowledge base support
Basic
$20
$90
Unlimited users
100 GB secure storage
Business hours phone support
Analytics
Pro
$120
$200
All Basic features
Unlimited secure storage
Advanced branding
Testimonials
If you want to create a visually consistent gallery of quotes, there are two ways of doing this in Carrd (see below).
1. Carrd version (uses CSS code)
This version is manually built in Carrd, and can take quotes from any source. It’s definitely not beginner friendly, and uses lots of CSS code.Find out how to implement it with my tutorial below – or the tutorial bundle.


Casey @thecaseywoodard
I really enjoyed the course. It looks a million times better than my old testimonials did.

You can see more examples in action on tinydesignlessons.com
Credit: Avatar images from randomuser.me
2. Widget method (embed)
There are also a number of widgets you can use for displaying testimonials, such as Elfsight, Jason's plugin, or Common Ninja.
Paper corners
With a little CSS you can add these paper style corners to an element. Find out how to implement this one on my tutorial page.
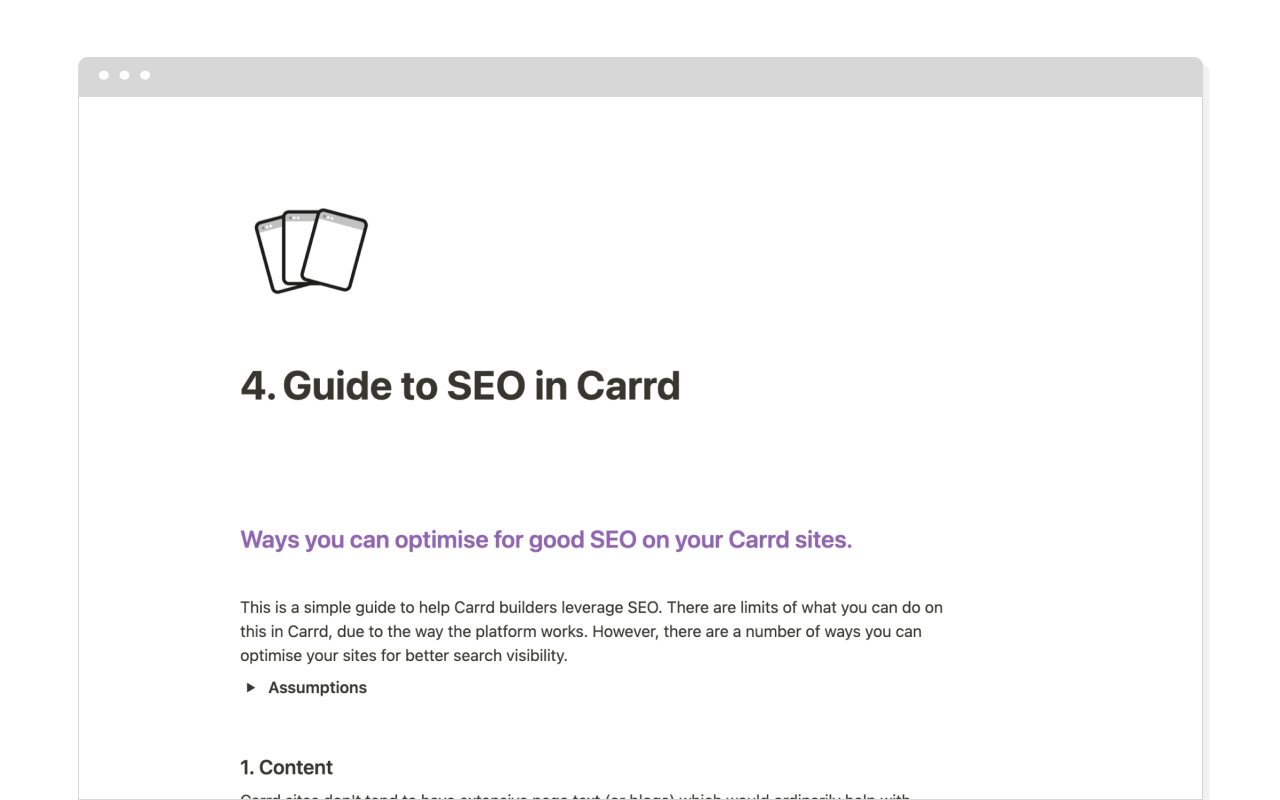
SEO
Want to know how to set up your Carrd site for good SEO? This is a guide to the content tweaks and settings changes that will help.
Get the guide as part of my tutorial bundle.
Get just the SEO guide only.
Hover effects
CSS animations are fairly easy to add in Carrd, using a little code and an Embed element. Find out how to implement this one on my tutorial page.
Mouse over the image below to see a CSS hover effect.

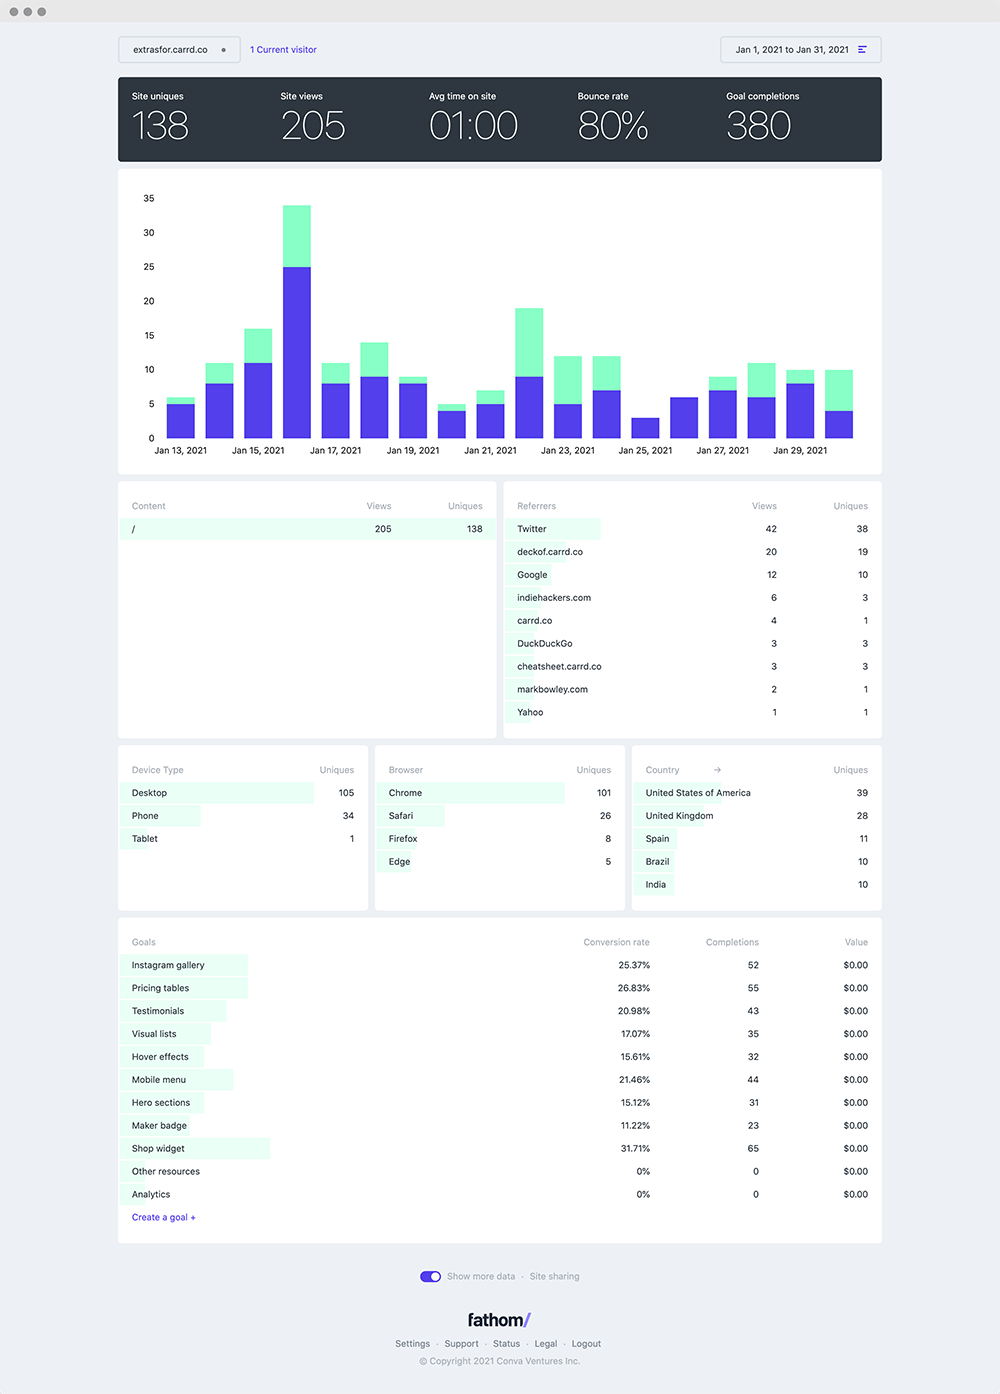
Analytics
I recommend Fathom Analytics for Carrd websites. It's simple, easy and privacy-focussed. More than anything it cuts through the noise you get with Google Analytics and just gives you simple, actionable data.
Find out more on this page, or register with Fathom and get $10 off with my link.
Maker badge
To add a ‘made by’ or donations badge to your site, here are ways of doing this in Carrd (see below).
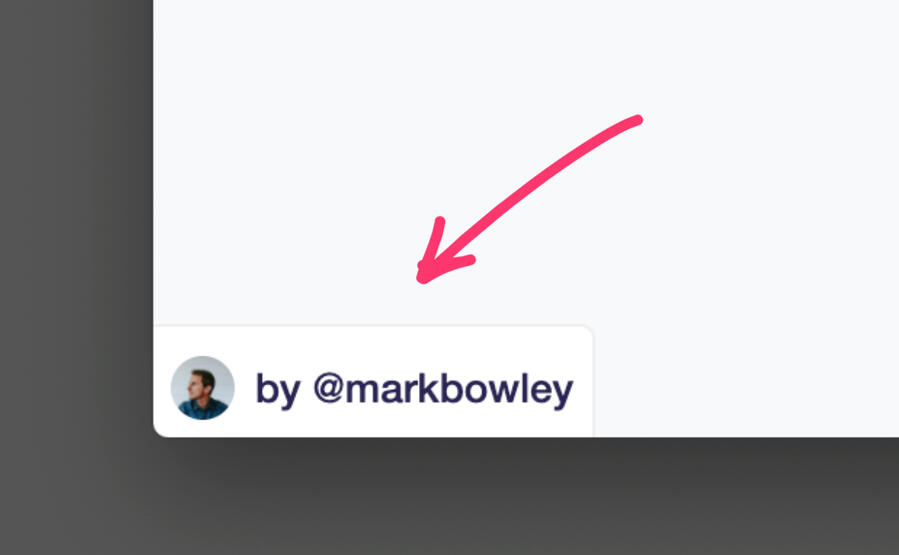
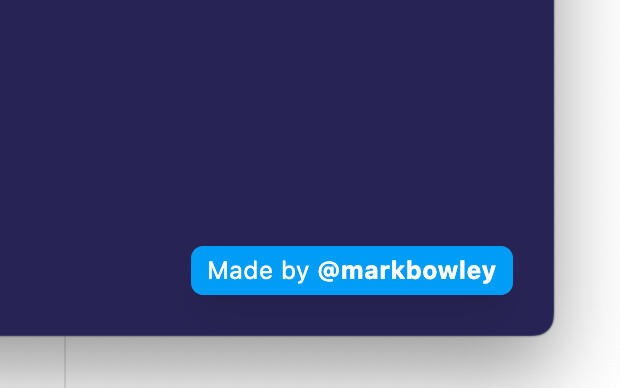
‘Made by’ badge (corner floating)
This version is like a software Made By badge, and floats in the corner of your website. It links to your Twitter handle only. Go to freakingmagical.com to get the embed code.
Donations version
For a version where you can list a number of places to donate or support you, use a tool called TinyJar.com.

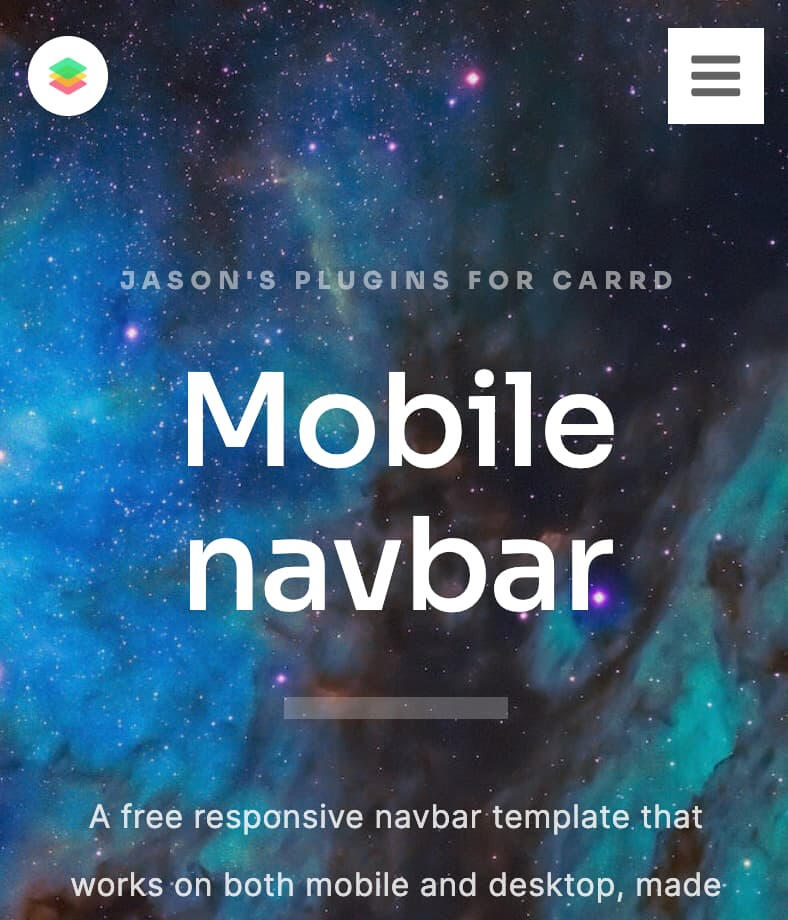
Mobile menu
If you have a number of jump links, you’ll know the lack of a mobile menu in Carrd is frustrating. However there are some ways around this.
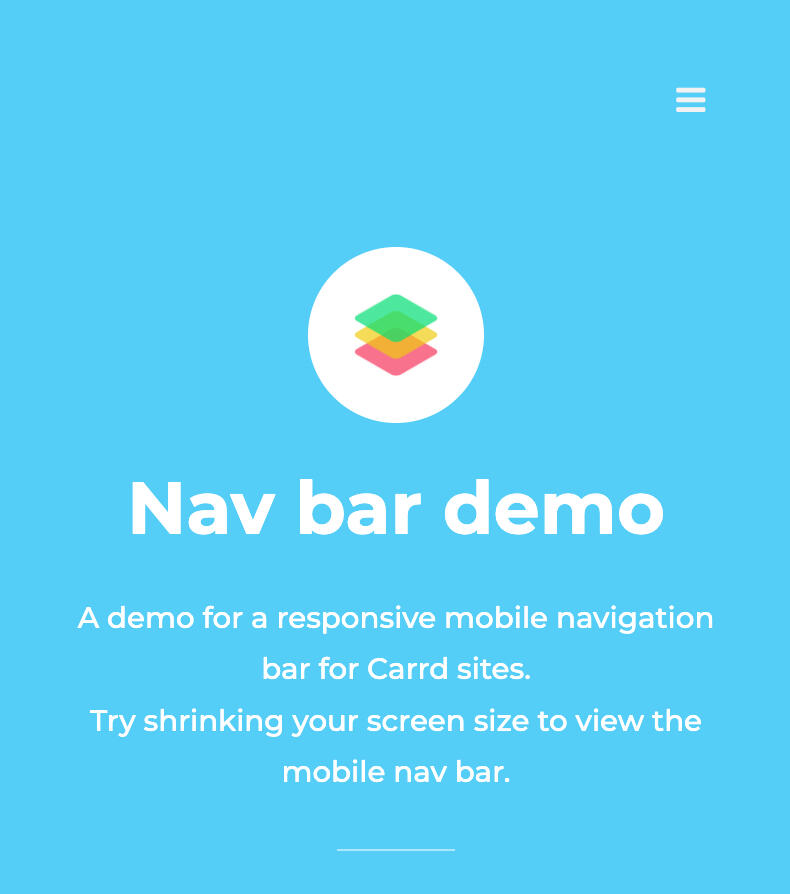
Carrd version
There is a technique to create a mobile responsive navigation menu using only Carrd features, no custom code required.
Find out how to implement it with this tutorial on Starrt.
Widget version
To create a more custom menu on mobile, you’ll need to use a coded technique. Jason’s plugins has a widget you can purchase.
Hero sections
These seamless, impactful sections are achievable using the native Carrd styling. Below are some example sections and the steps to achieve them.
Set a Container element to Full Width and add a background image.
Add your content, and adjust the Container margin/width to position it.
Note: you will need to make sure the Page element has Spacing set to 0.
Section heading
Lorem ipsum dolor sit amet, consectetur adipiscing elit, sed do eiusmod tempor incididunt ut labore et dolore magna aliqua. Ut enim ad minim veniam, quis nostrud exercitation ullamco laboris nisi ut aliquip ex ea commodo consequat.
Section heading
Lorem ipsum dolor sit amet, consectetur adipiscing elit, sed do eiusmod tempor incididunt ut labore et dolore magna aliqua. Ut enim ad minim veniam, quis nostrud exercitation ullamco laboris nisi ut aliquip ex ea commodo consequat.
Test page
This page exists only to test the mobile menu.
Hit the hamburger icon again to return to the main page.
Pricing table widget demo
Below is a demo of a pricing table built in Elfsight which can be embedded as a widget in Carrd.
It costs $5/mo to remove the Elfsight badge (get $15 off via my link).
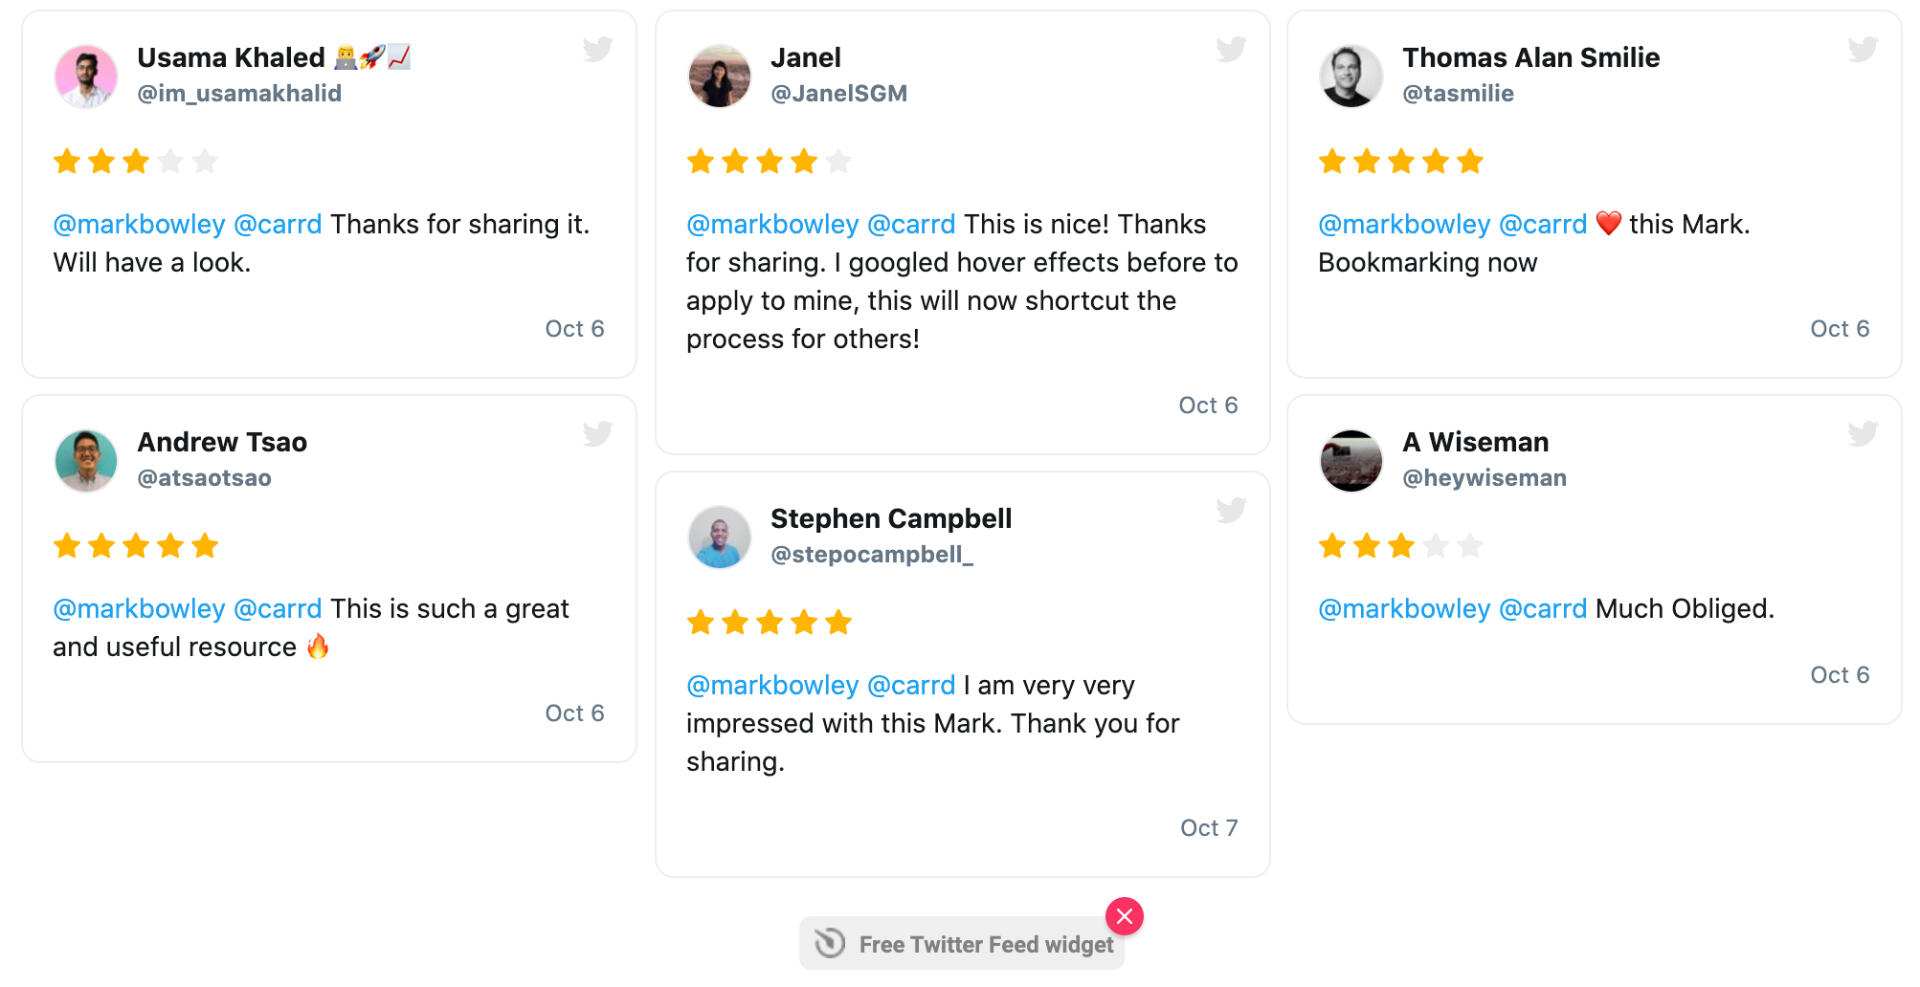
Testimonials gallery widget demo
Below is a demo of a tweets gallery built in Elfsight which can be embedded as a widget in Carrd.
It costs $5/mo to remove the Elfsight badge (get $15 off via my link).
Create a Container element with 4 columns.
Add a Text element in the first column with your label.
Under Settings > Styles add this CSS to the element:
background-color: #b11c3c;
padding: 20px;
border-radius: 100px;
Duplicate the Text element into the other columns and change the CSS colour and text for each one, as needed.
Create a Container element with 4 columns.
Add a Text element in the first column, with a title.
Under Settings > Styles add this CSS to the element:
border-top-left-radius: .2rem;
border-top-right-radius: .2rem;
background: #d14422;
padding: 1rem .5rem;
Add another Text element under the first, with some content.
Under Settings > Styles add this CSS to the element:
border-bottom-left-radius: .2rem;
border-bottom-right-radius: .2rem;
background: #f1f1f1;
padding: 1rem .5rem;
Duplicate the pair of Text elements into the other columns and change the CSS colour and text for each one, as needed.
Note: you will need to make sure the Container element has Spacing set to 0.